Hello everyone!
In this tutorial, We are going to learn about how to send emails in Node.js using the Nodemailer module just simply with Gmail.
Prerequisites:
A Gmail account
Basic knowledge of JavaScript and NPM(Node package Manager)
Install Nodemailer and Import it in source code:
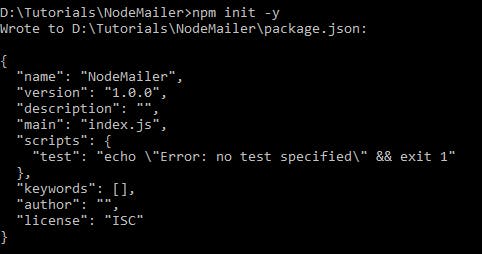
To start with, create a working directory. Open command prompt and navigate to the directory and run the command npm init -y. A package.json file is generated inside the folder.

Then Run the npm install nodemailer -s command to install the Nodemailer package.
Nodemailer is a module in Node.js to send emails easily.

After installing the Nodemailer, create a file send-mail.js inside the same working directory. Import the module inside the file.
const nodemailer = require('nodemailer');
Configure Gmail account
Create a Nodemailer transporter object by providing the details of the email account.
let transporter = nodemailer.createTransport({
    service: 'gmail',
    auth:{
        user: 'xyz@gmail.com',
        pass: 'xxxxxxx'
    }
});
Set the service as gmail and provide your email address and password in 'auth object'.
Gmail provides a concept of Less secure apps using which we can use plain password to send emails. Turn on this setting in the link https://www.google.com/settings/security/lesssecureapps. Instead of directly providing the password, we can also use OAuth2 by adding Oauth token details in the transporter object.
Set the Email contents
Next create a mailContent object with necessary details for sending an email such as from address, to address, subject, mail body content and attachments.
let mailContent={
    from: 'Sender Name <xyz@gmail.com>',
    to: 'Receiver Name <receivername@gmail.com>',
    subject: 'First Node.js email',
    text: 'Hi,This is a test mail sent using Nodemailer',
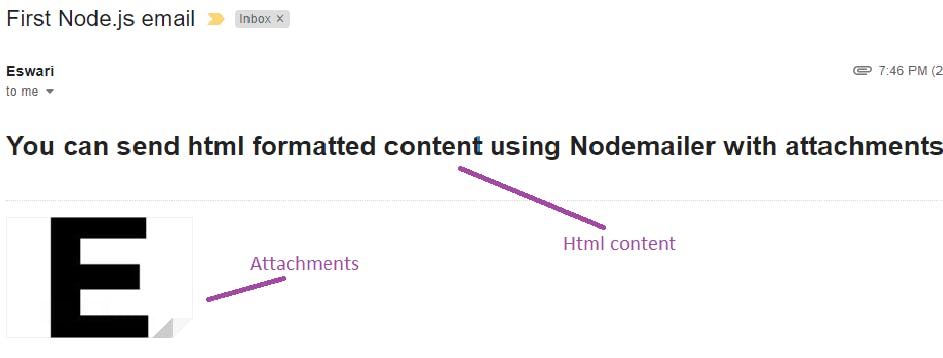
    html: '<h1>You can send html formatted content using Nodemailer with attachments</h1>',
    attachments: [
        {
            filename: 'image1.jpg',
            path: __dirname + '/image1.jpg'
        }
    ]
};
The parameters provided inside the mailContent object are:
from - Provide the sender name and email address. This should be same as the user email configured in the transporter object above.
to - Provide the recipient name and email address
subject - Provide the email subject
text - Configure the plain text email content
html - If we want to send a proper html formatted mail, we can provide the html contents in this parameter.
attachments - In this parameter, We can include a list of attachments which needs to be sent along with the mail.
Send Emails:
As we have completely configured the mail details, now we can send the mail using the sendMail method in the transporter object.
transporter.sendMail(mailContent, function(error, data){
    if(err){
        console.log('Unable to send mail');
    }else{
        console.log('Email send successfully');
    }
});
In the above code snippet, I have provided the mailContent paramter as input for the sendMail method.
We are done with the necessary coding part. Navigate to Command prompt and execute this file by running the command node send-mail.js.
Woohoo ! Mail is delivered in recipient's inbox.

Happy Coding !!!
